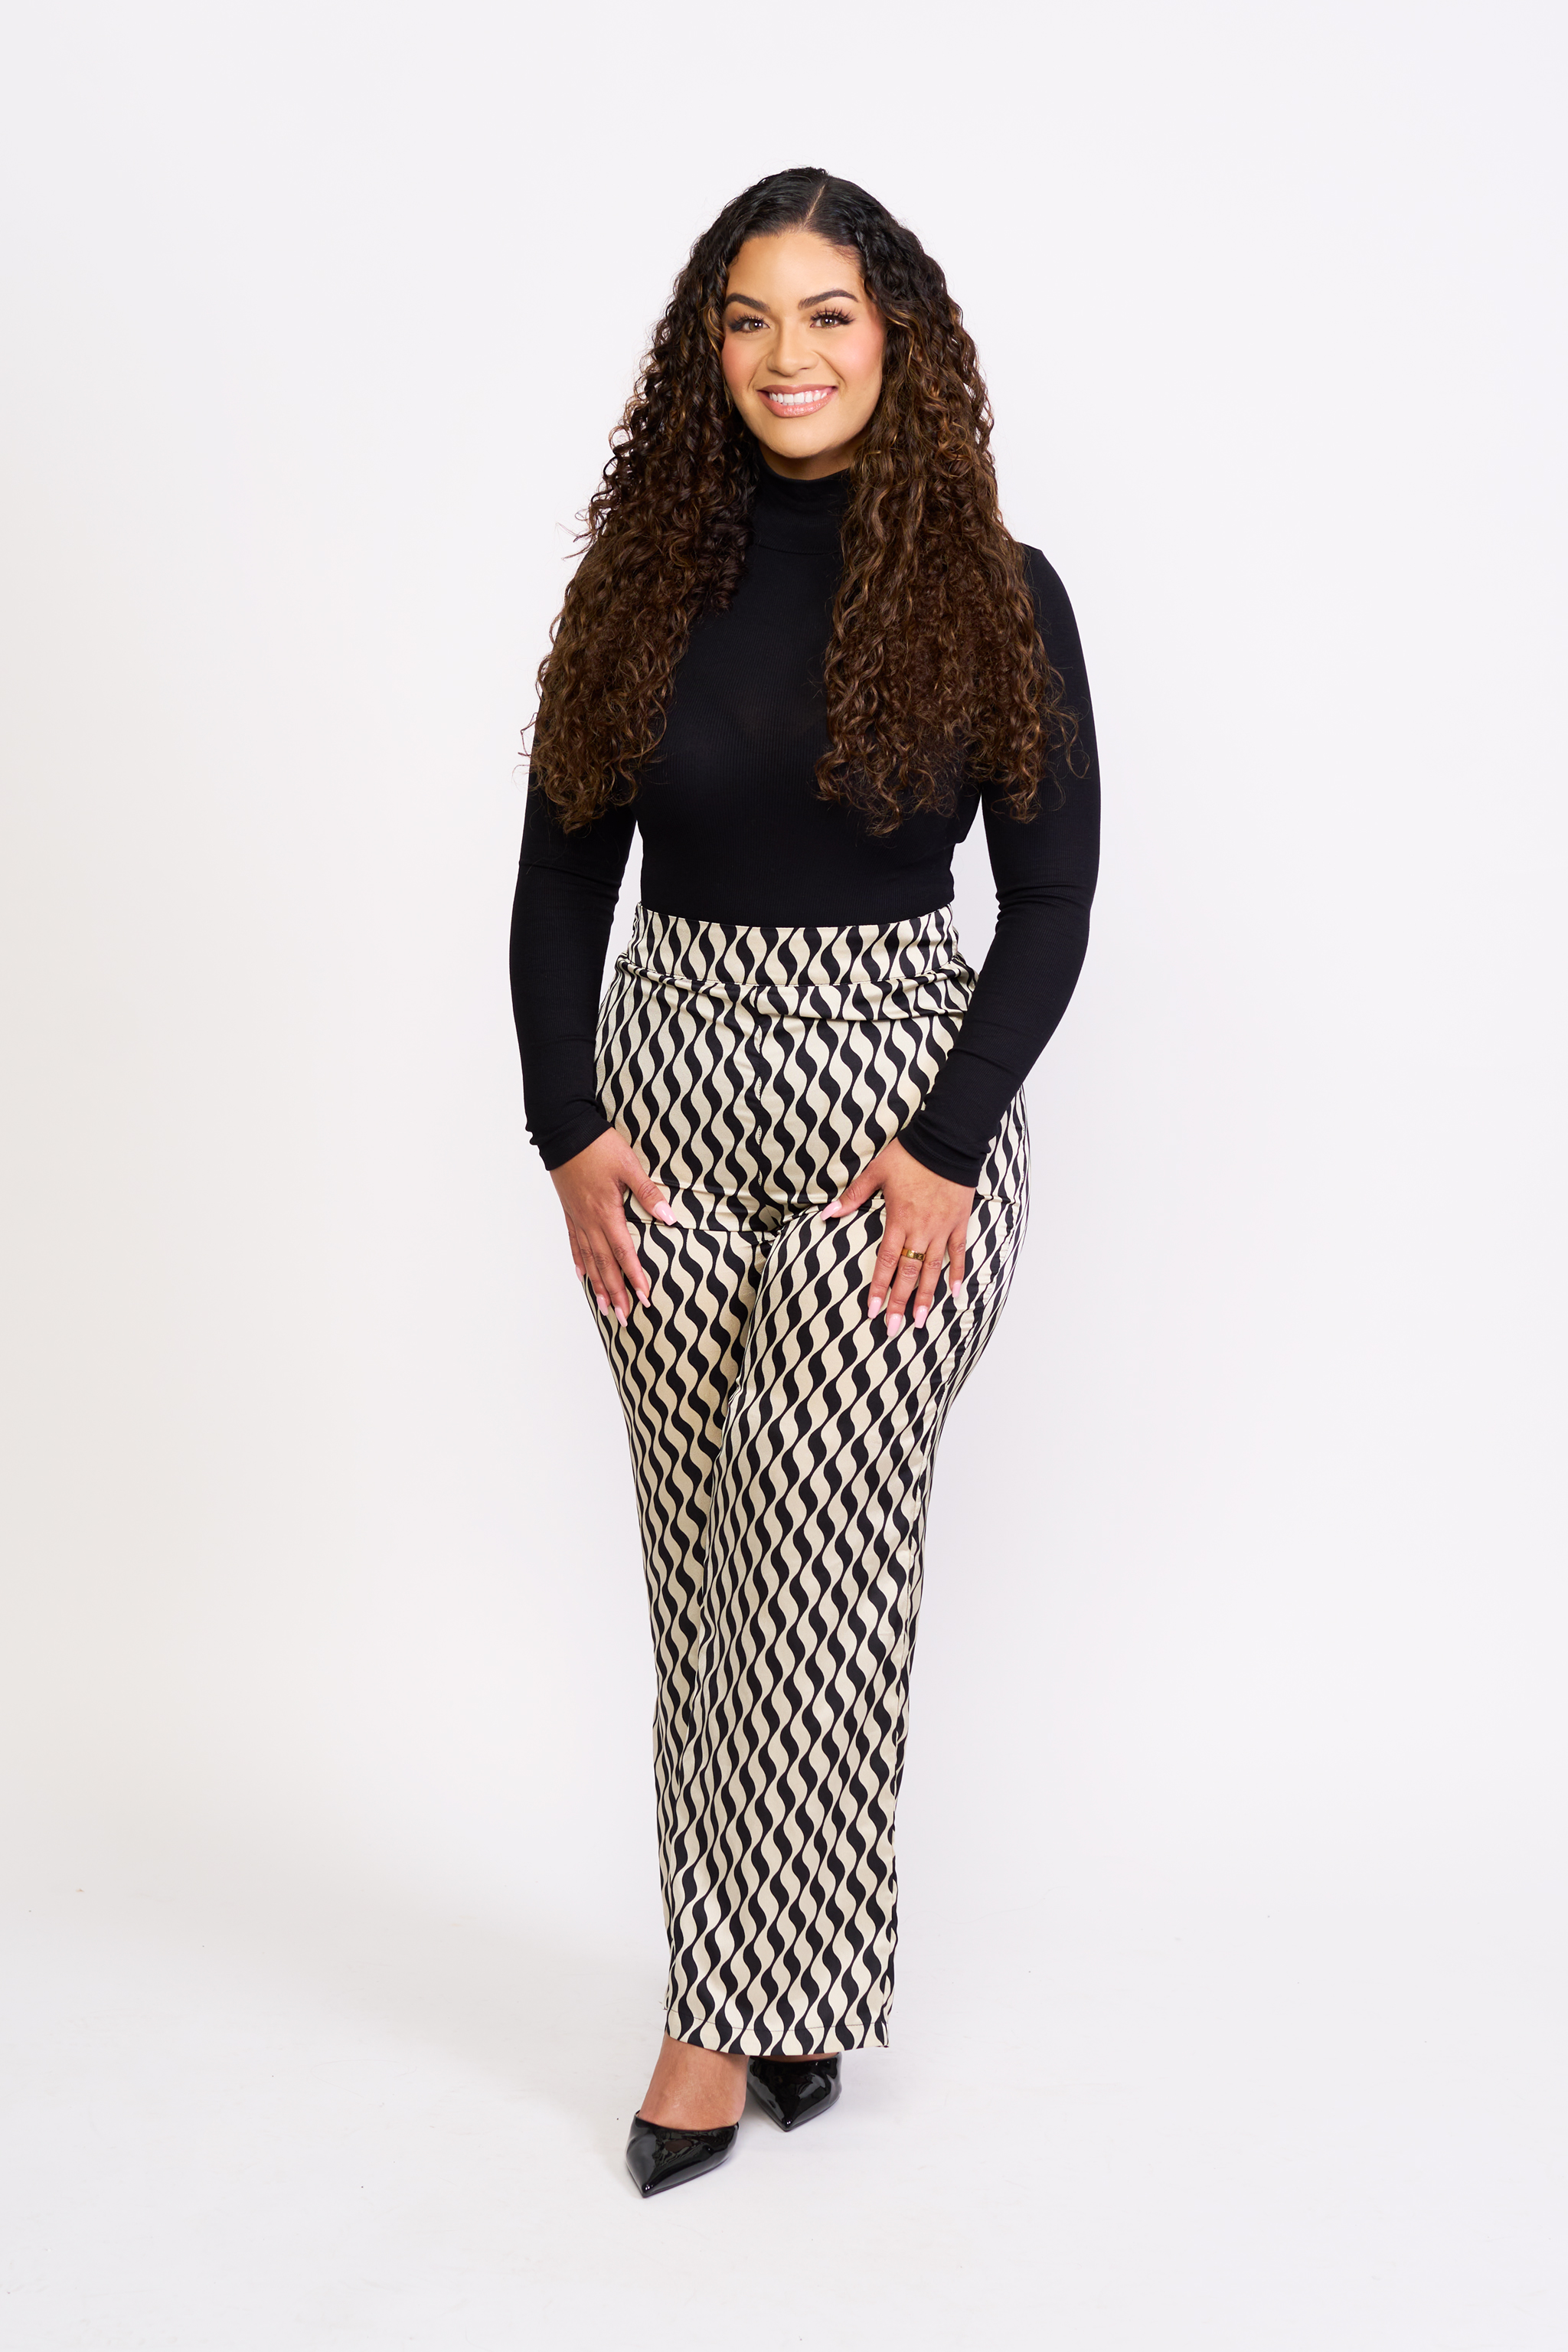
You booked a branding session. You showed up, nailed it, and now you have 30, 50, maybe 75+ incredible images sitting in a folder on your computer.
And then you posted three of them to Instagram and called it done.
I see this all the time. Someone invests $700-$1,500 in branding photography, gets a library of visual content that could fuel their marketing for six months — and then uses maybe 5% of it. The rest just sits there, collecting digital dust.
That's not a photography problem. That's a strategy problem. And I'm going to fix it right now.
The Biggest Mistake: Treating Branding Photos Like Headshots
A headshot has one job — it goes on LinkedIn, your email signature, and your company page. Done.
Branding photos are different. They're a content system. Every single image from your session should have a purpose, a platform, and a plan. When I deliver 50+ images from a branding session, I'm not giving you 50 versions of the same thing. I'm giving you 50 individual pieces of content, each designed to work in a different context.
The goal is simple: never run out of professional visual content again.
Here's exactly where every type of branding photo should go.
Your Website
Your website is the hub of your brand. Every page should feature professional photography — not stock photos, not Canva graphics, not that photo your friend took on their phone.
Where to place branding photos on your site:
- Hero image: The first thing visitors see. Use your strongest, most dynamic lifestyle shot. This sets the tone for your entire brand.
- About page: 2-3 images minimum. A polished portrait, a candid working shot, and an environmental photo in your space. People want to see you before they read about you.
- Services page: Each service should have an image. If you're a coach, show yourself coaching. If you're an esthetician, show yourself performing a treatment. If you're a realtor, show yourself at a property.
- Testimonials section: A warm, approachable portrait next to client quotes adds credibility. It puts a face to the brand behind the reviews.
- Contact page: A friendly, inviting portrait. This is the last thing someone sees before they reach out — make it welcoming.
- Blog posts: Use branding photos as featured images on blog posts. It keeps your content looking polished and on-brand.
Pro tip: Use different photos on different pages. If the same headshot appears on every page of your site, you're wasting your branding investment.
Social Media
This is where branding photos earn their keep. If you're posting consistently — and you should be — you need a deep library of content.
- Grid posts: Mix lifestyle shots, portraits, product/tool photos, and environmental shots. Alternate between close-ups and wider shots to create a visually interesting grid.
- Story backgrounds: Use branding photos as backgrounds for text overlays, polls, and Q&A stickers. A professional photo behind your story text looks infinitely better than a solid color.
- Reel covers: Use a branding photo as your reel cover image to keep your grid cohesive even when you're posting video content.
- Highlights covers: Crop portrait or detail shots into circles for your highlights icons.
- Bio photo: Your strongest portrait — welcoming, professional, and current.
- Profile photo: Your most polished headshot from the session.
- Banner image: A wider environmental or lifestyle shot works perfectly as a LinkedIn banner.
- Post images: When you write LinkedIn articles or posts, attach a relevant branding photo. Posts with images get dramatically more engagement than text-only posts.
- Cover photo: Use a wide lifestyle or environmental shot.
- Profile photo: Match your Instagram and LinkedIn for brand consistency.
- Post content: Rotate through your branding photos when sharing updates, tips, or promotions.
- Ad creative: If you run Facebook ads, branding photos outperform stock images every time. People respond to real faces and real environments.
Email Marketing
If you send newsletters, welcome sequences, or promotional emails, your branding photos should be in every single one.
Where they go:
- Email signature photo: A small, cropped headshot that appears at the bottom of every email you send. This is one of the most-seen photos in your entire brand — make it professional.
- Newsletter headers: A branding photo at the top of your newsletter immediately signals "this is professional content worth reading."
- Welcome sequence: When a new subscriber joins your list, the welcome email should include a warm portrait. First impressions matter in inboxes too.
- Promotional emails: Launching a new service? Running a special? Use branding photos instead of graphics. Real photos convert better than designed assets.
Print Materials
Yes, print still matters. And your branding photos should be on everything physical.
- Business cards: A small portrait on your business card makes it memorable. People remember faces.
- Flyers and brochures: If you're advertising services, workshops, or events, use branding photos instead of stock imagery.
- Event banners and signage: Speaking at an event? Hosting a workshop? Your banner should feature your branding photos.
- Media kits: If you pitch yourself for podcasts, speaking gigs, or press features, a media kit with professional branding photos separates you from everyone sending iPhone selfies.
- Postcards and mailers: Realtors, coaches, and service providers who do direct mail — your branding photos make your mailers look like they came from a premium brand.
The Content Calendar Approach
Here's how I recommend my clients actually use their photos after a session. Don't just dump them into a folder. Build a plan.
Step 1: Categorize Your Images
After you receive your gallery, sort your images into categories:
- Portraits (headshot-style, close-up, approachable)
- Working shots (you doing your thing)
- Lifestyle shots (casual, personality-driven)
- Product/tool shots (your offerings, equipment, workspace)
- Environmental shots (your space, your location, your vibe)
- Detail shots (flat lays, textures, close-ups)
Step 2: Map Images to Platforms
Assign specific images to specific platforms. Not every photo works everywhere. A tight headshot crop is perfect for LinkedIn but might feel too formal for Instagram stories. A casual lifestyle shot is great for Instagram but might not work on your law firm's website.
Step 3: Plan 3-6 Months of Content
Spread your images across a calendar. If you have 50 images and you post 3-4 times per week on Instagram, that's roughly 3 months of unique featured images — without repeating a single photo.
Week 1: Portrait + working shot + product photo + lifestyle shot Week 2: Environmental shot + detail shot + different portrait + candid Week 3: Repeat the cycle with different images from each category
Step 4: Repurpose Aggressively
This is the part most people miss. One photo can serve four or five different purposes with different crops:
- A full-body lifestyle shot → square crop for Instagram → horizontal crop for website banner → vertical crop for Pinterest → tight crop for email signature
- A working shot → featured image for a blog post → LinkedIn post image → newsletter header → print flyer
- A product flat lay → Instagram grid post → story background with text overlay → website services page → business card back
You're not posting the same photo four times. You're using four different versions of the same photo in four different contexts. Nobody notices. Everybody benefits.
Why 30-75+ Images Makes Sense Now
When clients first hear that a branding session delivers 30-75+ images, they sometimes wonder if that's overkill. It's not.
If you map out every platform, every page of your website, every email, every print piece, and every social media post across even three months — you'll burn through 30 images faster than you think.
The photographers who deliver 5-10 images from a "branding session" are giving you maybe two weeks of content. That's a headshot session with extra steps. A real branding session gives you a content arsenal.
The breakdown:
- Website pages: 8-12 images
- Instagram (3 months): 36-48 images
- LinkedIn posts (3 months): 12-15 images
- Email marketing: 5-10 images
- Print materials: 3-5 images
- Stories and ephemeral content: 10-15 images
That's 74-105 image placements from one session. And with strategic cropping, you can stretch a 50-image gallery even further.
Stop Hoarding Your Photos
If you've already done a branding session and most of your images are sitting unused — open that folder today. Sort them into categories. Map them to platforms. Schedule them into your content calendar.
And if you haven't done a branding session yet, now you know exactly what to do with the images once you have them. The session isn't the end — it's the beginning of months of consistent, professional content.
Ready to build your content library? Explore branding photography packages or start planning your session with my vision board tool. Have questions? Get a free quote and tell me what platforms you're creating content for — I'll help you plan a session that covers all of them.